

I made this Shabby Chic layout in a frame for a dear friend. Let me show you how in 7 easy steps -

Step 1 - I drew the outline of a circle on a die-cut. I pricked holes and
hand-stitched around the outline. I used an edge punch and then cut the border into individual floral pieces. I inked them and adhered them to the stitched circle.

Step 2 - I fussy cut a frame from another pp and adhered it to the photograph using pop dots.

Step 3 - I layered the page with the background pp, die-cut and the fussy-cut frame in the foreground. I inked the edges before sticking them down.

Step 4 - I matted the photograph with corrugated paper and created a banner for the title alphas.


Step 5 - I left the birds on a branch chippie untreated because the kraft color pops off beautifully against the black. I used distress inks on the hinge chippie, fastened it with metal brads and added flowers.

Step 6 - I added a rub-on for part of the title.
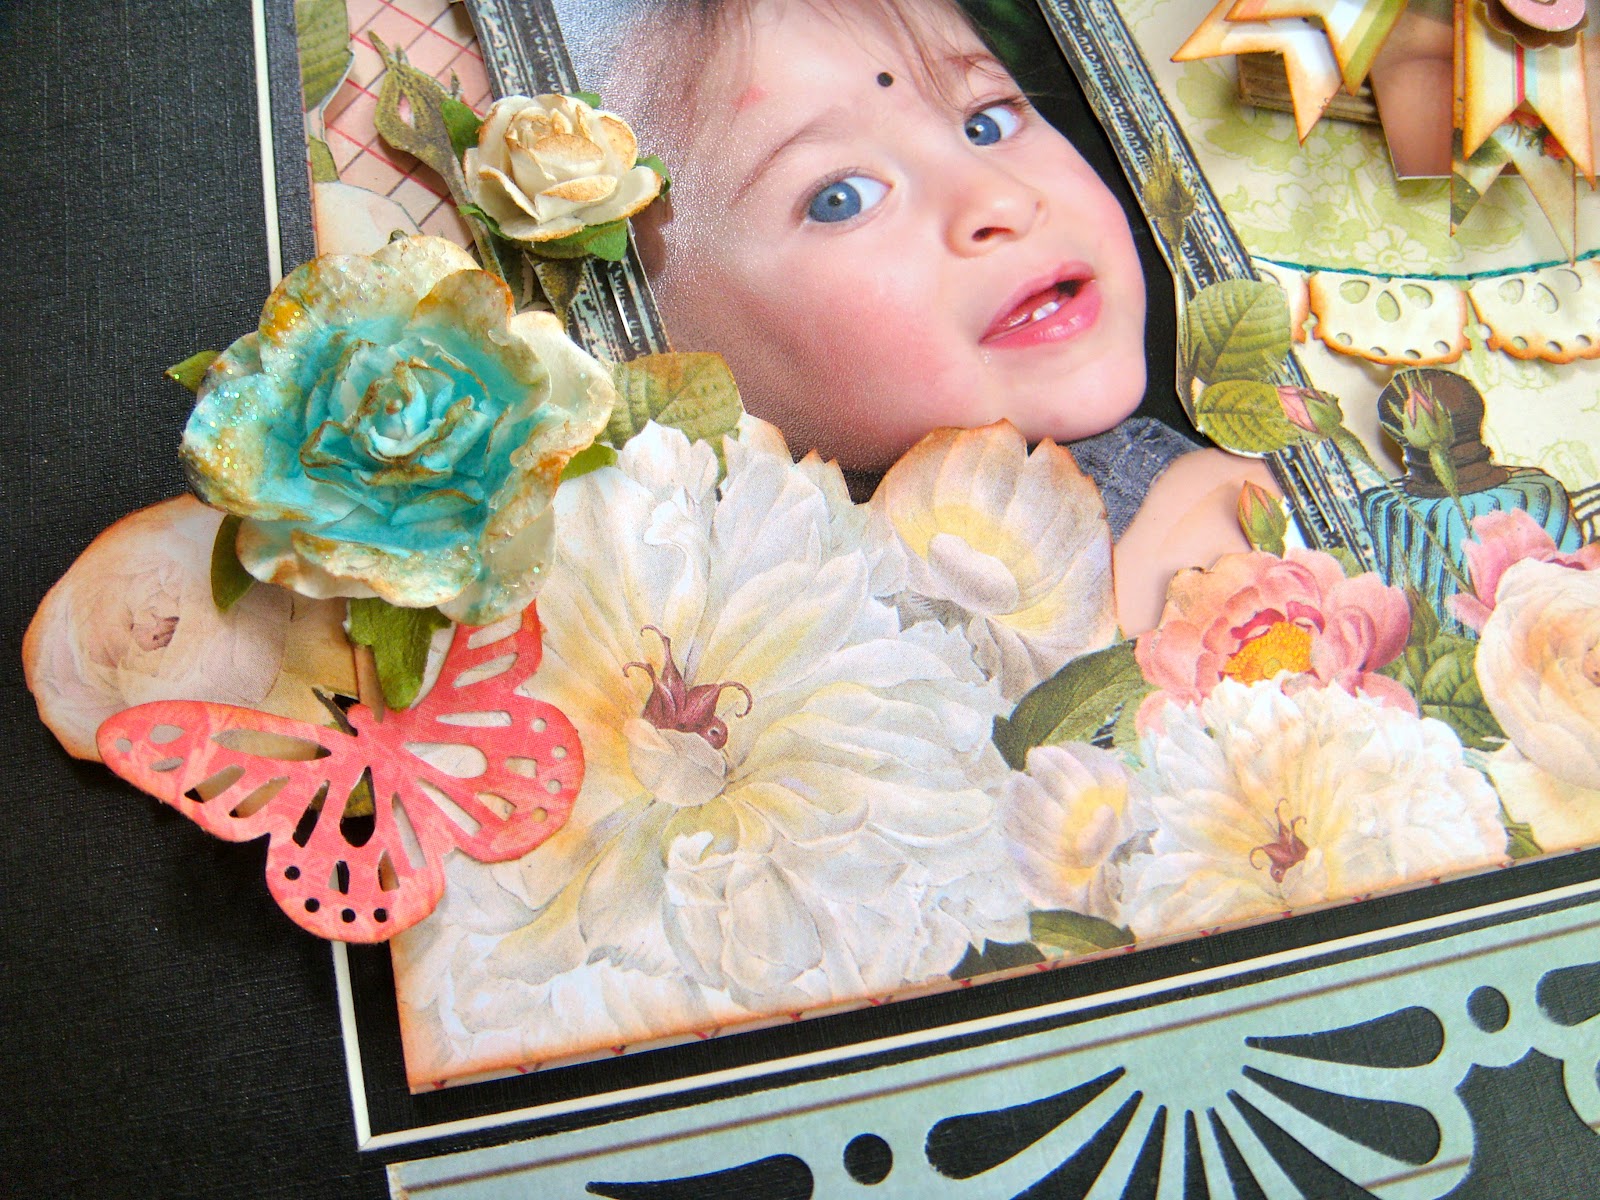
Step 7 - I use another edge punch to create a border and finished off with embellishments like misted flowers and a punched butterfly.
Hope you found this Shabby Chic tutorial helpful. Happy scrapping!

Great tutorial inspirable.
ReplyDeletetks s much
Preciosa página.
ReplyDeleteEres una artista.
Un besazo
Wow! Thanks for sharing this. I am SO not a shabby chic scrapper, so it is fascinating to learn about your process.
ReplyDeletewow ,you are too good .what we say in hindi"mein pagal ho jaungi"love your work.
ReplyDeletemegha
http://meghanuj01.blogspot.in/
hey
ReplyDelete