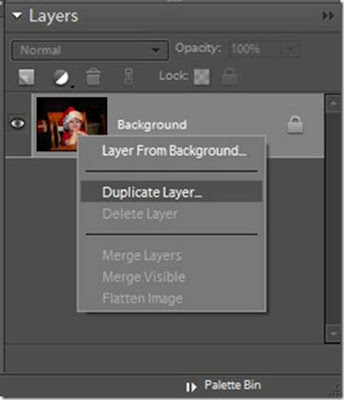
First, Open your photo in Photoshop Elements. Go to your layers palette and right click on your photo. A menu will come up, choose Duplicate Layer from the drop down menu.

You will then see two identical copies of your photo in the layers palette. Click on the top photo to make it the active layer.
Click on Enhance, and then click on Convert to Black and White. A new window that looks like this will pop up.

In the bottom left hand corner of that window you will see a menu that says Select a Style. This gives your black and white conversion several different looks. As you click on them the Preview image on the right hand side will change. You can also adjust the Red, Blue, Green, and Contrast of the photo using the manual sliders. When you are happy with your changes you can click Ok to commit changes. You can see my before and after images in the preview above. (Of a different photo, I edited before.)
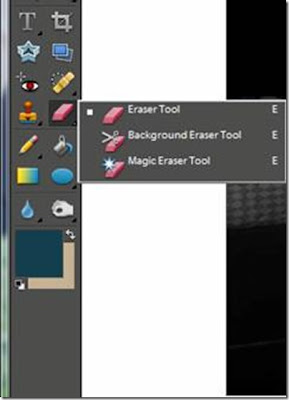
Next, Select your Eraser tool from your Tools menu, and make sure the black and white copy is selected in your layers palette. Carefully click on the photo on the portion that you want to remain in color, to erase the black and white copy and allow the color copy to show through.

Once you erase all of the portions of the black and white photo that you want deleted, go to Layers in the top menu bar, then click on Flatten Image. Then you can save your completed edit under a new file name so you do not save over the original. Here is my finished copy.

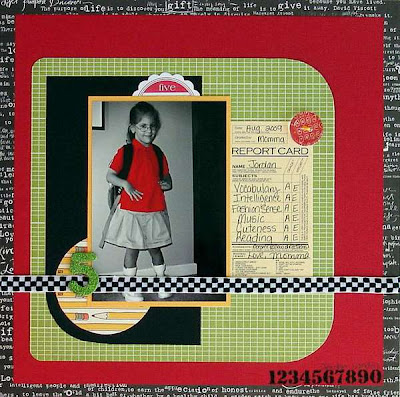
There are several different ways to achieve this look, but I find this one to be the simplest to explain. Here is a layout with that I completed with a photo that I edited to leave a portion in color.


Awesome tutorial!!, I've always wanted to try this effect on my photos..now I know how to do it!!!...Thank you
ReplyDelete-BK
You're very welcome Betty!!!
ReplyDelete