Showing posts with label mists. Show all posts

Monday, February 11, 2013

Even Misting Technique

Hi, Marlene here to show you another way to create your own background paper.  I finally ran into a method that does not lend itself to still photos so I (with lots of help from my son) created a video demo.


The last frame shows a background that I forgot to mention uses a 12 x 12 Crafter's Workshop template.  I stapled the template to the paper then chalked the dark spots on the birch trees (first with grey then a second application in black).   Next , I used my spray technique to apply Mr. Huey's Powder Blue color mist  to fill in the spaces between the trees.  The following picture is the finished product.  


 Here is the layout created with this technique.  Thanks for looking.

Thursday, May 31, 2012

Mist Four Ways

Cindy here!  I'm a big fan of mists.  They are really versatile and so much fun.  Today I'm going to share four of my favorite misting techniques and show how they can all come together to make one awesome tag.  

Using a border punch as a stencil
Punch a piece of scrap cardstock with a border punch (I used Fiskars Scalloped Sentiment) to create a stencil.  Place it over a tag, then spray with the lightest mist color.  Move the stencil and spray with the next darkest color.  Continue 1-3 more times, finishing with the darkest color. 
 
Misting over an embossed image
Stamp an image and emboss.  (I used Versamark ink and clear embossing powder on chipboard.)  Spray over the embossed image and immediately wipe with a tissue. 

 
Painting with mist over an embossed image
Stamp an image and emboss.  Spray mist onto a non-stick surface (I use the outside of a used sandwich bag.) or simply remove the cap from the mist.  Use a small paintbrush to paint directly on the non-embossed parts of the image. 


Dyeing ribbon with mist
Place scraps of white ribbon into a ziplock bag.  Spray a small amount of mist into the bag, seal, and massage to spread color evenly.  Remove the ribbon from the bag and lay it on a flat surface to dry (I use the inside of a cardboard box).  


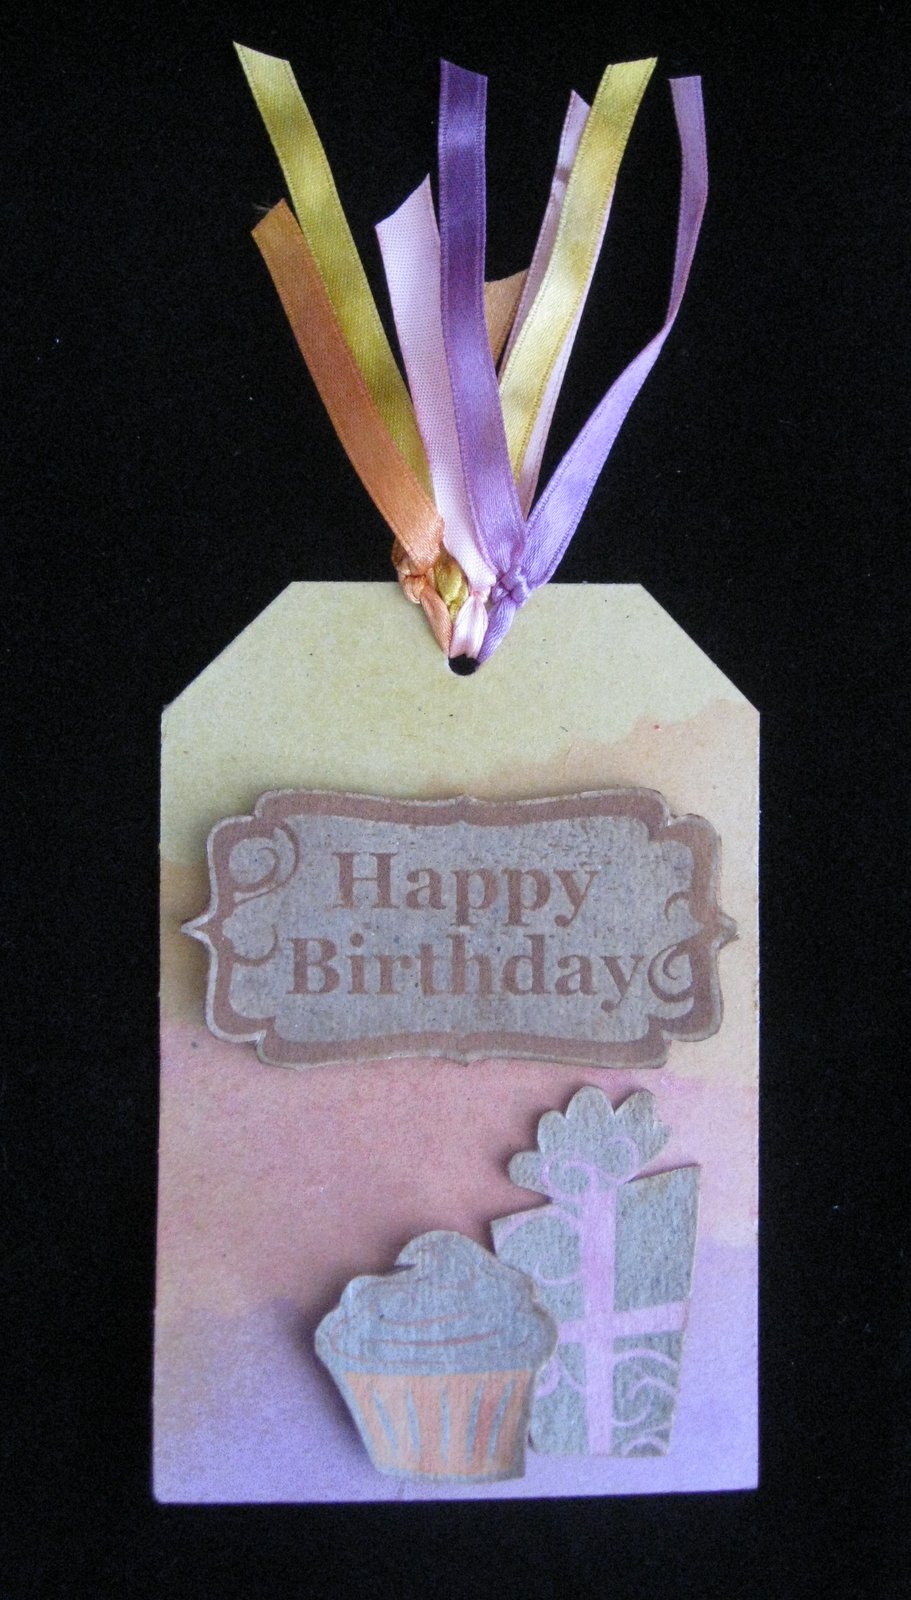
Here's the chipboard tag I created, using mist four different ways.


Try experimenting with a cardstock base (or priming the chipboard with paint first), different ink or embossing powder, and various shades of mist.  The possibilities are endless!


Friday, December 9, 2011

For The Love Of Paper!!!

One of my favorite thing to do is create with paper!  I pretty sure that is what got me in to scrapbooking to begin with.  I think its fun and challenging to take a sheet of paper and create a dimensional and unique embellishment.  With just a little time and patience you can create so many of your own home made embellishments!

Today I want to share a layout with you that I made with ALL paper with the exception of 1 button.


 Here you can see I took circles and folded them in until the sides met in the center to create this green boarder.  I then cut circles in half and fan folded them to create the flower.

I use a veriety of circle and scalloped punches to along with pop-dots to created this layered flower.  Finally at the top I cut circles in haft and lined them up edge to edge with pop-dots on the back side.


Here is a second layout that is almost all paper!

 With this layout I cut random size strip of paper and glued them to the back ground paper.  Then I cut out a large paper heart from my cricut and laid it on top of my strips of paper and then applied glimmer mist to the whole page.  once it was well misted I removed the large paper heard and where it laid on the page their was no mist the original paper colors showed through.  Next I stitched the outline of the heart shape to help it sand out more.


Make things with paper is very easy and very good for your scrap stash!


Tuesday, September 27, 2011

Dimension

Hi everyone, Nancy here with a fun technique to create dimension on your projects!

As you know, I love playing with my supplies and finding cool new ways to use them. One of my favorite supplies is Glimmer Mist and since I have a new love in Ranger's Multi Medium I thought...hmmm, how would these work together? I have seen people mix gesso and mist...what about these?

For this project I used Tattered Angels Glimmer Mist in Scarlett, Ranger's Multi Medium in matte, a Crafter's Workshop stencil, an old gift card and some craft sticks.
I began by placing a dollop of the multi medium on my mat.
I sprayed a bit (1 pump) of the Glimmer Mist onto my medium and
stirred with the craft stick
Placed my stencil over my cardstock...
and used the old gift card to pull the medium across.
I ended up with some great dimensional texture that I left to dry overnight. The matte Multi Medium has a great, wax-like appearance once dry.
With a quick sentiment stamp and a piece of older Prima Marketing paper, it became a cute card.

These cards are a little more simple than I usually make, but I just loved the detail and dimension that this technique offered.

Thanks for stopping by.

Hugs.

Thursday, September 8, 2011

Magnet Board


Hi everyone, Nancy here with a fun and easy home decor project for you.  Recently, I remodeled my kitchen.  And, as is the style, I went with stainless steel appliances.   Unfortunately, magnets don't stick to stainless steel, so I needed to come up with a place to hang my grocery pad and other bits of paper.

I popped into my local hardware store and found a piece of sheet metal for the great price of $6.00 and spray painted it black.
I added a few sheets of patterned paper.  Helpful hint:  be sure and use thin papers as you want your magnets to stick and still hold down other paper items.
Jenni Bowlin patterned papers
Next, I added a few fun embellishments.  I didn't use too many and kept them to the corners as I did want this item to be functional as well as pretty.  
Prima Marketing flowers and leaves.  Jenni Bowlin and Maya Road stick pins.
Prima Marketing lace, Tattered Angels glimmer mist
And, here is my final project...
I mounted it to the cabinet that holds my refrigerator with Command Adhesive so as not to mar the surface.  The clock and the "white board" are also mounted this way.
Thanks for stopping by.

Nancy

Friday, July 15, 2011

Featured Artist Friday - Missy Whidden

Hi everyone!  Its Sara here today to introduce you to a very talented scrapbooker Missy Whidden!  I have known Missy for about 8 months and I just love her style! She has the best attention to detail in her layouts, each layout is so unique.  One of Missy's favorite things to do is mist!  I am pretty sure you will find multiple mist colors on all of her layouts! To top that off Missy makes all her own mists!!!

Lets get to know Missy!
My name is Missy Whidden and I’m 35.  I’ve been married to Marshall for 11 years, but we’ve been together for 17.  We were college sweethearts!  We have two gorgeous little girls, Reese (4) and Paige (2).  We live in the tiny town where we both grew up, and all of our family lives here, too.  I’m a former English teacher and am now a stay-at-home mom.  When I’m not scrapping, I teach spinning classes at our local YMCA.  I love working out and helping people reach their fitness goals.  I also love to read and play with our girls.  I fell in love with scrapbooking five years ago when I was first pregnant.  My mother-in-law asked me to help her make a baby book for my husband, and I was instantly hooked!  My work has definitely evolved over the years and I’ve discovered so many cool things!  I love bright colors, patterned paper, homemade embellishments & glimmer mists, inks & stitching.  I love working with sketches.  I’m not afraid to try new techniques, and that makes it hard for me to define my “style.”  My main goal with each layout is to make sure the photos take center stage and aren’t overshadowed by too much.

Here is some examples of Missy's 'Misting Majic' and she has lot of great ideas to share about each layout!


To create the large, drippy circles, I first took a plastic cup and cut the bottom end out.  I placed the larger end onto the paper and sprayed my mist heavily into the smaller end of the cup.  Once the circle is covered in mist, I removed the cup.  To make it drip, I help up my paper and sprayed the mist really close onto the circle.  You can do this without the dripping, or make it as light or dark as you want!  After the circles were dry, I began to assemble my pictures, paper and flowers.  I love creating background like this because each one will be different, and you can customize the colors!


For this background, I used an old empty package of pop dots!  Once they’re all used up, you have this square of empty circles, so why not use it for a mask?  I just placed it at various spots on my paper and misted through the holes.  I also just spritzed here and there…I didn’t want it to look uniform at all.  I knew I wanted a grungy look for this layout since it was about my daughter looking like she’d just gotten into fight…haha!  I used lots of black ink to smudge it up.  I matched my background circles with some patterned paper with circles.


I created this layout for a blog challenge that required us to use a color palette of red, yellow and green.  Typically I wouldn’t use those colors together, so I decided to create a watercolor-type background using those three colors.  I first cut out a large square from cardstock to use as a mask.  I placed that over my white cardstock so only the square was visible.  I misted my three colors all over the open square and then took a bottle of water and sprayed it lightly, causing the colors to blend.  I really love how it turned out…and I would never have found this in a store.  I love how mists allow you to create a one-of-a-kind design!  Once my square was done, I was able to embellish the page with small 2x2 squares of matching patterned paper.  I also made two accordion flowers that I topped with buttons.


To find out more about Missy and she her work visit her Blog!

Tuesday, February 15, 2011

Glimmer Mist Mask

If you are like me you have a TON of raw chipboard in a verity of shapes, styles and sizes. Am I right?  Well I have a new use for that mound of raw chipboard!  I like to use mine as a 'mask' with glimmer mist on my page.

If you are not familar with a mask it is simply a template that you place on a paper and then spray your mist around it. Once you remove the mask the design of the mask is left on paper un-touched by the mist.


On this layout I selected a scrolly heart from my raw chipboard stash and then placed it first at the top right of the layout and misted a few times. Then I moved it down to the bottom right of my layout and misted a few more times.  Now I have 2 heart impressions on my layout! I also have a beautifully misted chipboard heart so I then added that to my layout! 


I hope this idea will help you use up your chipboard stash!

Tuesday, October 5, 2010

License to Create

Want a cool idea for vacation or travel albums? How about using a license plate? When I was designing an album about a summer vacation to the Jersey Shore, that's what came to mind for me. I grew up in New Jersey but no longer live there. I was able to recycle an old license plate. I love to recycle or re-purpose items so that made this idea even more appealing.

Photobucket

For the pages of the album I used chipboard pages by Little Yellow Bicycle. They were sized just right to work with the license plate as a cover. The chipboard had holes already drilled on the short side, so I decided to orient the album hinge this way. Ring binders provide the hinge and are embellished with ribbons, twine and beach related charms. I attached a leather strap closure by Zutter using rivets. Holes can be punched into the license plate using a Crop-a-dile or other hole punch tool.

To protect my pages, photos and journaling, I applied Mod Podge sealant. This album is a hybrid project. I used a combination of traditional and digital scrapbook products to create it.

Here is a glimpse at the pages and back cover
Photobucket
Page 1

Photobucket
Page 2-3

Photobucket
Page 4-5

Photobucket
Page 6-7

Photobucket
Page 8-9

Photobucket
Page 10-11

Photobucket
Page 12-13

Photobucket
Back cover

The back cover has journaling on it which reads "The best vacations are those that keep you looking forward and dreaming of doing it all again" I thought these 2 photos went so well with that thought they deserved to be the very end of the album!

If you are looking for a unique way to remember a great trip, special event or travels you've experienced, why not consider re-using a license plate? You can find them on eBay and other internet sites, at junk yards and maybe even in your shed or garage.

Here is a list of products that I used in creating this album:

Patterned paper: Boardwalk Collection Little Yellow Bicycle
Chipboard Album: Little Yellow Bicycle
Digital kits/elements: Drift Away by Graham Like the Cracker; Sea Sand Sun, Kids at Play by ScrapMatters Collab Team; Sail Away, Sunburn Savvy by Erica Zane; At the Beach by The Design Girl; Vintage Carnival Tickets by Jenn Barrette; Precious Memories by Laitha's Designs; Life's a Beach Snippettes by Sahlin Studios; Vintage Carnival by Sahlin Studios
Sealant: Mod Podge Hardcoat
Ribbons: American Crafts, Michaels
Charms: Blue Moon Beads
Leather strap/Rivets: Zutter
Glitter: GlimmerMist, Stickles
Stickers: K&Company
Alpha: Making Memories
Flowers: Prima, Petaloo
Gems: Zva, Queen & Co
Ink: Ranger; Colorbox