
You will need your mist, an acrylic stamp and block (I am sure rubber stamps would work as well), a craft sheet, and the item you would like to stamp, in this case cardstock. I always use a craft sheet to collect stray mist. And, as you will see, the mist on the sheet can be reused.
 If you have been misting a number of different items and have mist pooled on your sheet, you can certainly dip the stamp into that.
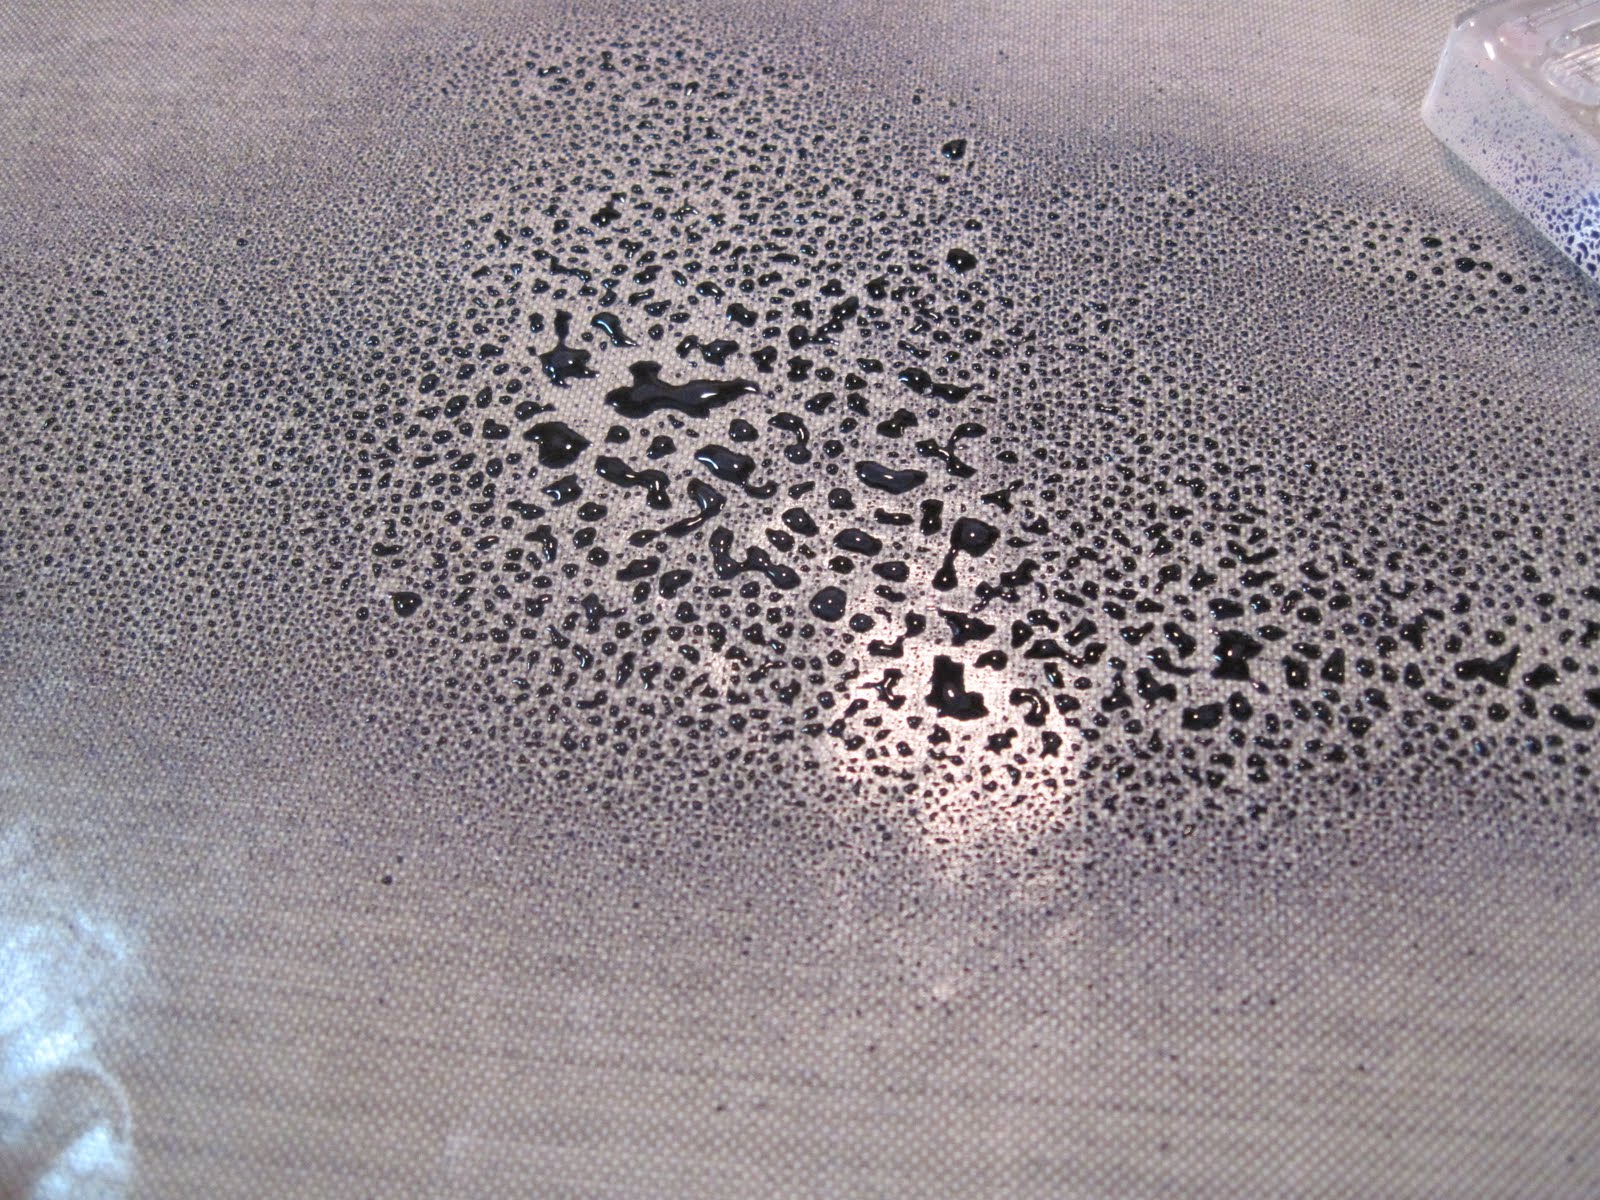 If you are starting from scratch with the mists, you can just do a light spritz directly onto your stamp.
 Simply stamp your material as you would stamp with ink. Be sure to not rock your stamp as the mist, being a liquid, is likely to bleed.
 Here are a few projects I have made using this technique.


uhm, this is AMAZING!!
ReplyDeletevery cool! Thanks for showing us Nancy!
ReplyDeleteGreat post. Thank you for sharing.
ReplyDeletewow....
ReplyDeletebeautyfull...
That is a great idea! ty!
ReplyDeleteWhat a cool cool idea!
ReplyDeleteAwesome tutorial Nancy! I can't wait to try it on my own.
ReplyDeleteBeautiful! Thanks for the wonderful tip.
ReplyDeleteHi. What is the name of hte stamp you used, I would like to get one for myself too.
ReplyDeleteThanks
Love the effect this produces, especially with that script stamp. Could you pkease let me know what stamp line your stamp is. I've been looking for one that looks authentique. Really lovely!thnx
ReplyDeleteI love the effect you've created using this great script stamp.mplease let me know what stamp this is. I keep looking for a great script stamp & this one has that authetique and just found quality. Very lovel! Thnx
ReplyDelete