
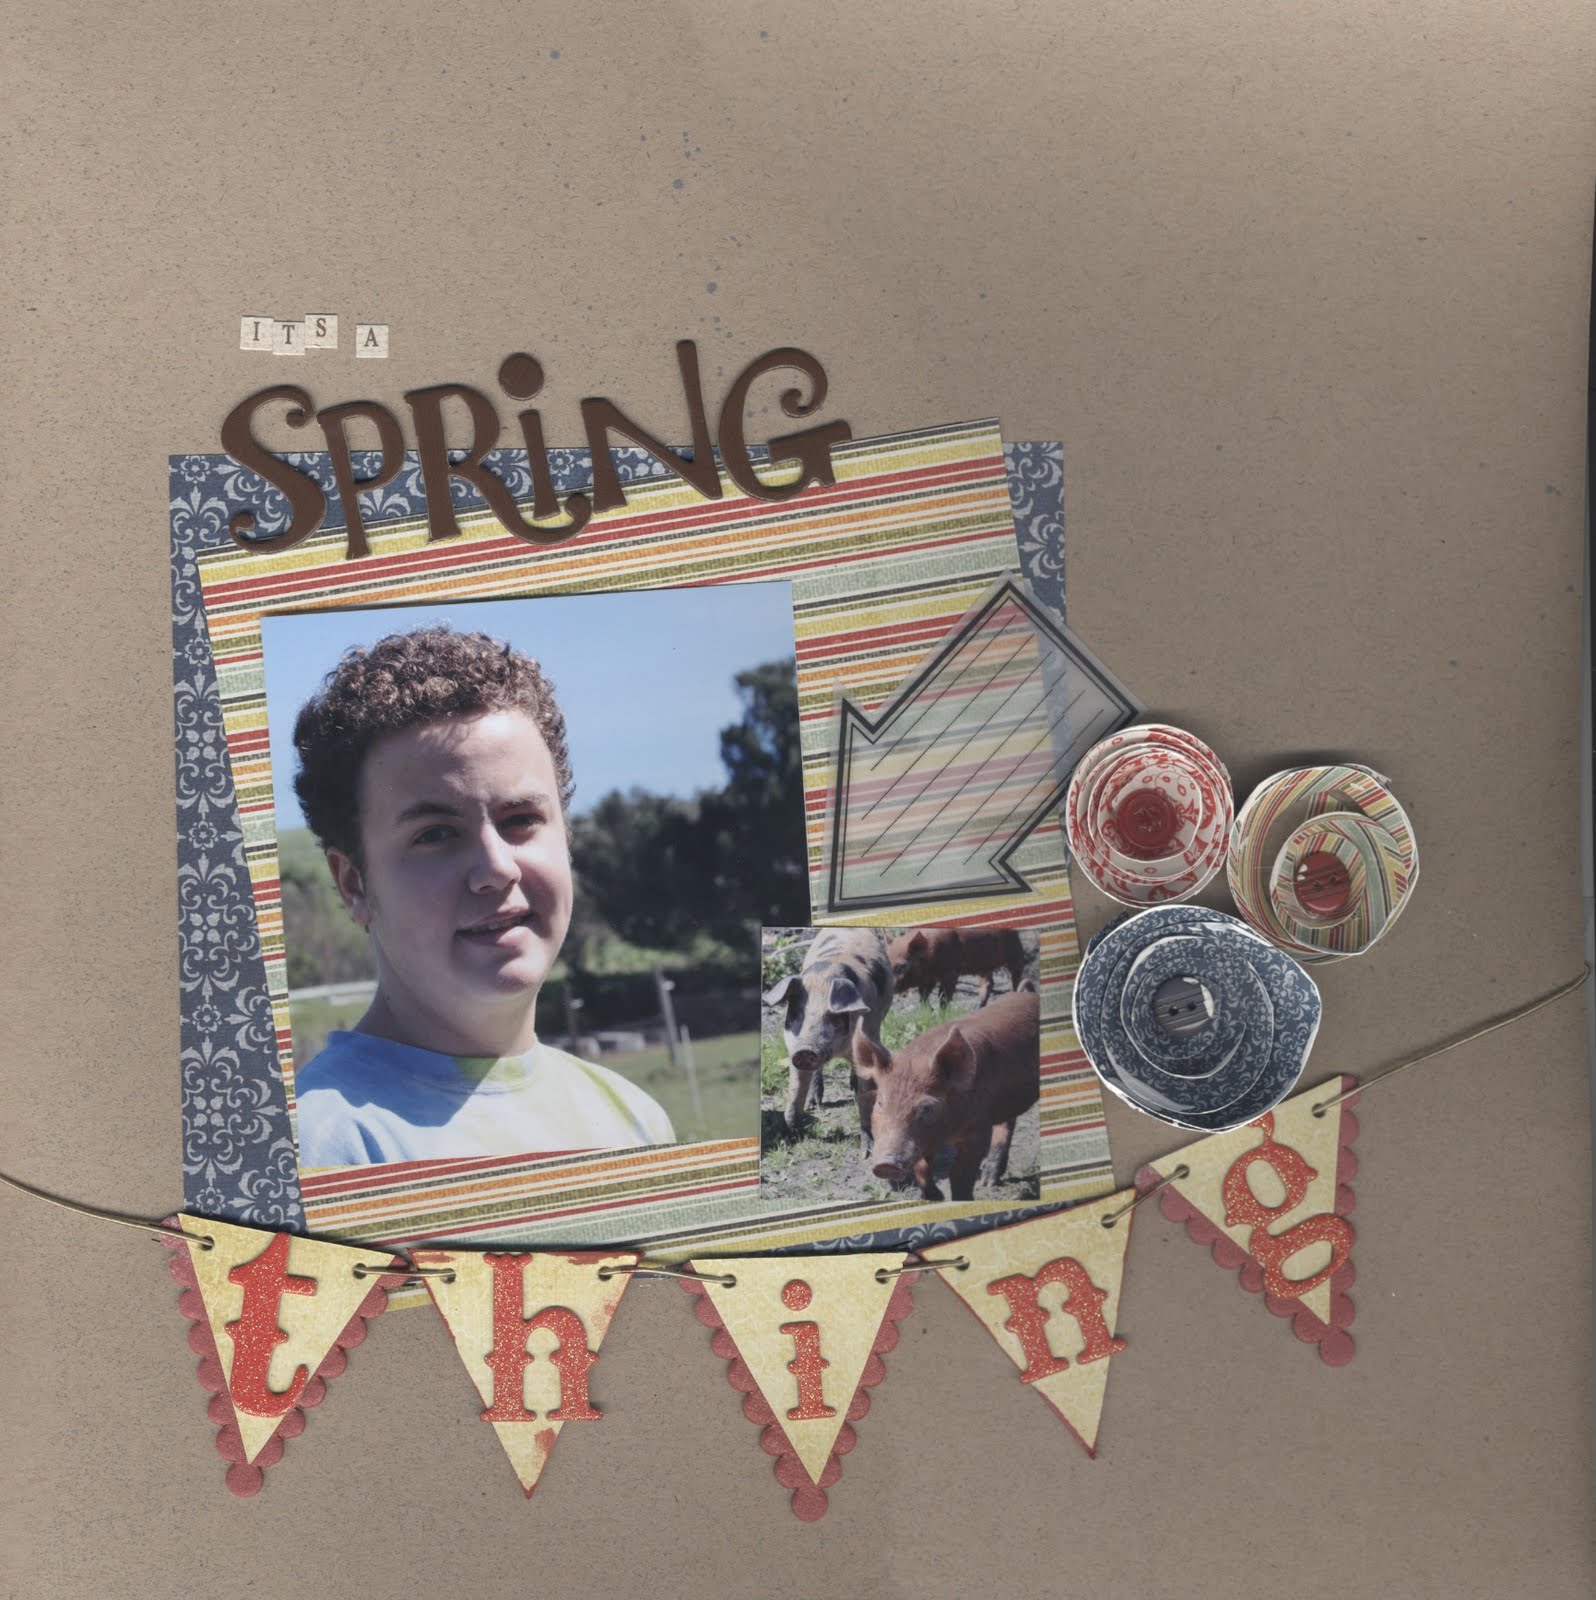
In this layout I used a chipboard banner from Maya Road to add interest to my title.
And here, I have used a Jenni Bowlin Sticker banner to highlight the title.

But, banners aren’t just for layouts. You often find them in home decor as well. To celebrate my daughter’s birthday I made this.

This banner was much easier to make then you would think. There are many products out there, both in canvas and chipboard that will help you build a banner. But for this project I simply made the banner with some patterned paper and cardstock scraps.
I began by cutting scraps of paper into triangles. I made each triangle 3 ½ x 4 ½ inches. You will need the number of triangles as you want pennants in your banner.

In order to do this, I drew an X 3 ½ inches from the edge of the paper, then drew a line 4 ½ inches down from the top of the paper. I measured in 1 ¾ inches to find the center point (1/2 of 3 ½ is 1 ¾). Then, I just connect the dots. Once you do the first triangle, you can use it as a template for the others.

I then mounted each pennant onto a piece of white cardstock. This helped give the paper weight while adding another paper for a decorative edge.

I used my scallop scissors to make the decorative edge, using my pennant as a line to follow.

I embellished each pennant with a flower, some ribbon and a letter.

And on the end letters added some stick pins

From there, it is just poking holes in the end of each banner and stringing the pennants together.

I hope you have fun with your next banner.
Hugs.
Nancy

Love your banner they are all so cute at the moment!! I have made one myself but a it is for a challenge i cannot blog it just yet!!! You have given me some lovely ideas though x :)
ReplyDeleteHow cute! Love the idea of the decorative boarder! Thanks or sharing!
ReplyDeleteSara
Very cute post Nancy!
ReplyDeleteAbsolutely awesome tutorial Nancy! I love your layouts. They are so pretty!
ReplyDelete