
1) Natural Light is your friend
Figure out when the sun is bright in a window (but not direct light) and try to take your pictures then.
Can’t use natural light? I know there are lots of days that the sun just doesn’t come out bright enough or it is midnight when I finish something and WANT to get the preview ready! What then? Turn on the lights – not flourescent though – and try to light the object from as many angles as you can.
This guy here has become my BFF - and I am not kidding.

I know it looks like a regular ol' light bulb but it is not. "He" is seriously the best investment - and it wasn't all that much. I got the lamp part at IKEA... about $6. The bulb was a two pack (I have one at my craft table and one where I take pictures) and it was about $13 for the two bulbs. They are daylight bulbs and truly make the room look like it is daylight. For bigger projects - taken at night - I have needed both the lights I have to have it light well enough on both sides to prevent harsh shadows. I often turn the light on even when I have some natural light but the area still is a little on the dark side.
Here are a few examples {Please note that all examples are STRAIGHT out of the camera}
Flourescent light on manual
Besides the fact that they are blurry you can see what a yellow tint it has.


Here is with the over head - flourescent light but with a flash on the camera - in auto mode

Daytime light on in manual {better but not perfect - but these are fairly easy to fix in Photoshop or Photoshop Elements}


In natural light {This looks most like the colors that I see on the card/project}


2) Use a solid colored 12x12 paper or larger under and behind the photo
This was taken in natural light but it has a distracting background - at least to me!

Here is what my area looks like that I take pictures. It usually ends up staying "up" most of the time but it does easily fold and can be tucked away for when I use that space as initially intended - for wrapping gifts!


3) Set a scene for your preview
I took this picnic set -- right out to the picnic table.
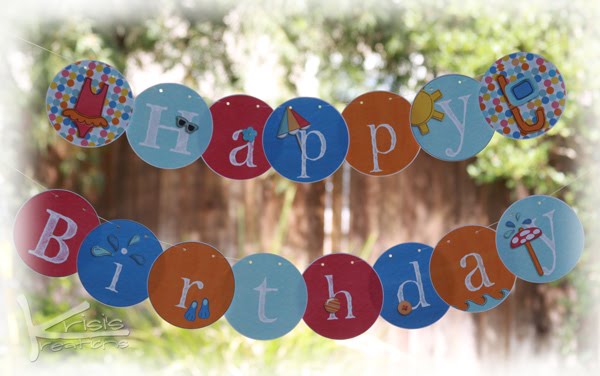
Another one that was taken outside... where the party was going to happen.
For this I set up the luminaria on my front table where it was suppose to be sitting.
4) Throw in some extras
Have some of what you are going to use the box for? Candies, soaps, etc. put them near the box when taking a photo.
Is it a card? Include the envelope under it (especially if you made the envelope or have hybridized that as well.
Some examples:
{I put out various other candies with the candy assortment. I used a sheet behind this one as well}

5) Angle your projects
I have used things from m&m's to wad's of paper to prop them just a little so they are not just flat on the paper.

Here is just used the chapstick lid - you can see above that it gives just enough angle to see the project better.
6) Spice up the angles/perspective or include detail shots
Here is the full backpack...

and from a different angle:
But here are some details of the flower.


The tutorial for this flower can be found on my blog.
I hope these tips have been helpful. I would love to hear what you felt was the best/most interesting tip!
Many of these projects are templates available in my store at ScrapMatters. The actual projects can be found with all their credits in my gallery at ScrapMatters.

Great tips! I've been experimenting myself with different lights and angles so when I saw this post just now I jumped on it. I never tried white white light and the paperboard back ground. Thanks so much for sharing!!
ReplyDeleteThis is right up my alley! I was told recently that I needed to photograph my projects outside to get the right lighting and I must say that helped 100%! Only problem is that only half my projects were able to take advantage of that tip because I am a late night scrapper and sometimes I just don't have the patience to wait for morning to snap a pic. Thank you so much for the awesome tips!
ReplyDeleteI have a light bulb like that and have never tried to use it to take indoor photos of my projects! So cool. Thanks for sharing your ideas!
ReplyDeleteisn't that a compact florescent light bulb?
ReplyDeleteGreat tips Krisi; thank you! :-)
ReplyDelete