Showing posts with label embossing. Show all posts

Thursday, January 16, 2014

Tanya's 2013 Favorites

Happy New Year, everyone!  Tanya here, to share my favorite projects of 2013! To narrow it down, I picked 5 layouts, 5 cards and 3 projects that I really love! :)  I have included links to the original blog posts too, where you can get more description and close up pics of each creation! :)

LAYOUTS:
RIP Droopy-Doo
I die cut this rainbow and used happy, fun colors on this tribute to my Basset Hound, who crossed the Rainbow Bridge in January 2013.


In Sickness & In Health
My husband spent Valentine's Day in the hospital recovering from a second surgery in two weeks.  I used Doodlebug's Love Birds collection, and carried the 'birds' into the theme of the layout.


First Bloom
I used white-on-white and covered the background in die cut patterns.  It is a little hard to tell from the photos, but I think the stark background paired with the vivid color of the hyacinth is just beautiful.  The link above has some better close-ups.


Say Cheese
I love all the die cuts and messy stamping, along with so much going on with this fun layout.


9
I stepped outside my box for this anniversary layout.


CARDS:
Valentine
My favorite thing about this card is actually the envelope!  I die cut it from a Kerri Bradford Studio file and love the tear-open flap, along with the hearts on the front.


Whoo's Turning 8?
This was a fun card for my nephew using a die cut file from Miss Kate Cuttables.  I also carried the theme onto the envelope using an owl stamp for the "o" in his name.


Wedding
I love the colors, stamping, embossing and everything about how this card came together.


Party This Way
I liked how this card came out so much, I made several of them in different color schemes!


Thinking Of You
A simple card with lots of texture and dimention that could be used for many different occasions.


PROJECTS:
Mother's Day glass etching
I finally tried my hand at using etching creme with vinyl cut with my Silhouette Cameo to make personalized gifts.


Boat Vinyl
I made several decals for our boat using vinyl cut with my Silhouette Cameo.


Project Life title page
This title page from my first year of Project Life encompasses everything my life is made up of - love, my dogs, home, fun and bright colors, scrapbooking ... it makes me happy to just see it. :)


Thanks for looking back at 2013 with me!  I can't wait to see what others chose as their favorites! :)


Monday, March 4, 2013

Embossing the backing paper off the Prima Tree

Hi, it’s Gael here again and this week I would like to show you how I used the backing paper off the Prima felt tree on this layout.


I had recently used the Prima felt tree on a layout and thought the backing paper would make a great mask so I kept the white backing paper with that thought in mind.

Like a lot of my ideas, I don’t always go with my first thought.  When I was creating this layout I decided I wanted to add a tree and instead of using the backing paper as a mask I tried embossing the white backing paper.  I covered the backing paper with the embossing ink and then sprinkled brown and green embossing powder onto it.  When I had enough powder to cover it I then heated it with the heat gun.  Lastly I covered it with Modge Podge to seal it.  When I stuck the tree onto the layout I added some stippling with green paint to blend it all into the background a bit more.

I’ll certainly be looking at my embellishments for other opportunities to try this technique again. 

Monday, September 24, 2012

Halloween Sign using Silhouette Cameo


I'm having some fun with vinyl!  I've just gotten some vinyl for cutting with my Silhouette Cameo and I've found a new crafty must have!! Let me take you through the making of this sign.


I painted the wood, orange on the surface and black on the edges.


I designed the sign layout in the Silhouette Software.  I then cut it out of vinyl. I weeded the pieces of vinyl where I wanted to paint the sign.


I laid the vinyl carefully on the painted sign being certain to have all edges firmly tacked down.


Using a sponge brush, I applied the black paint. After it dried, I applied Top Emboss to the word "bewitchy" and sprinkled it with some WOW black glitter embossing powder, which I heat embossed.


I used WOW silver glitter embossing powder on the cauldron accent and to create the steam.  I also applied some black glitter to the edges of the sign. I lightly sanded the edges and some of the surface of the sign for a slight distressed look.

Here are some additional views


Now I can't wait to break out the vinyl and do some more designing!!


Monday, May 28, 2012

Using Embossing Powder on a Beach Page


Hi, Marlene here.  Last weekend I had the pleasure of attending the Great Lakes MegaMeet Scrapbook Convention in Novi, Michigan.  It is always fun to get to see new products first hand.  My favorite find for this year was Mudd Puddles (MuddPuddles.net).  At first glance I thought it was heat embossing powder but the granuales are much larger and heat is not used at all.   The vendor sold 4 different colors - sand, snow, splash sand (blue) and black - packaged with a tray, a brush and two-sided thickers.  The Sand color looks so much like the real thing I couldn't wait to try it.  It is very messy in the same way as glitter or heat embossing so you need to cover the area.  On the other hand, it is as easy to use as it is messy so worth the effort.
This is a picture of the product.
The next is a layout I did using the double sided thickers for the title in blue.  The strip beneath the title that looks like sand was done by applying glossy Mod Podge to sandy colored paper then shaking the Mudd Puddles over the area.  Any over shake can be funneled back into the jar for later use.  After the first coat of Mod Podge dried, I applied a second coat to set the sand.  Once it was dried I applied the title with Terrifically Tacky Tape, nothing else seemed to want to stick.  
We spend a lot of time at the beach so this set was perfect for many of my pictures.  Here is my finished beachy page, I took to this product like a Lab to water!  It may not be a new product but it is new to me and I love the result.
 

Tuesday, August 16, 2011

Stamp and Emboss

Hi everyone, Nancy here.  Today I decided to try a new technique.  You know I have used my masks to stamp before....today I decided to try embossing at the same time.  I began by spraying my mask with a bit of Tattered Angels Glimmer Mist.
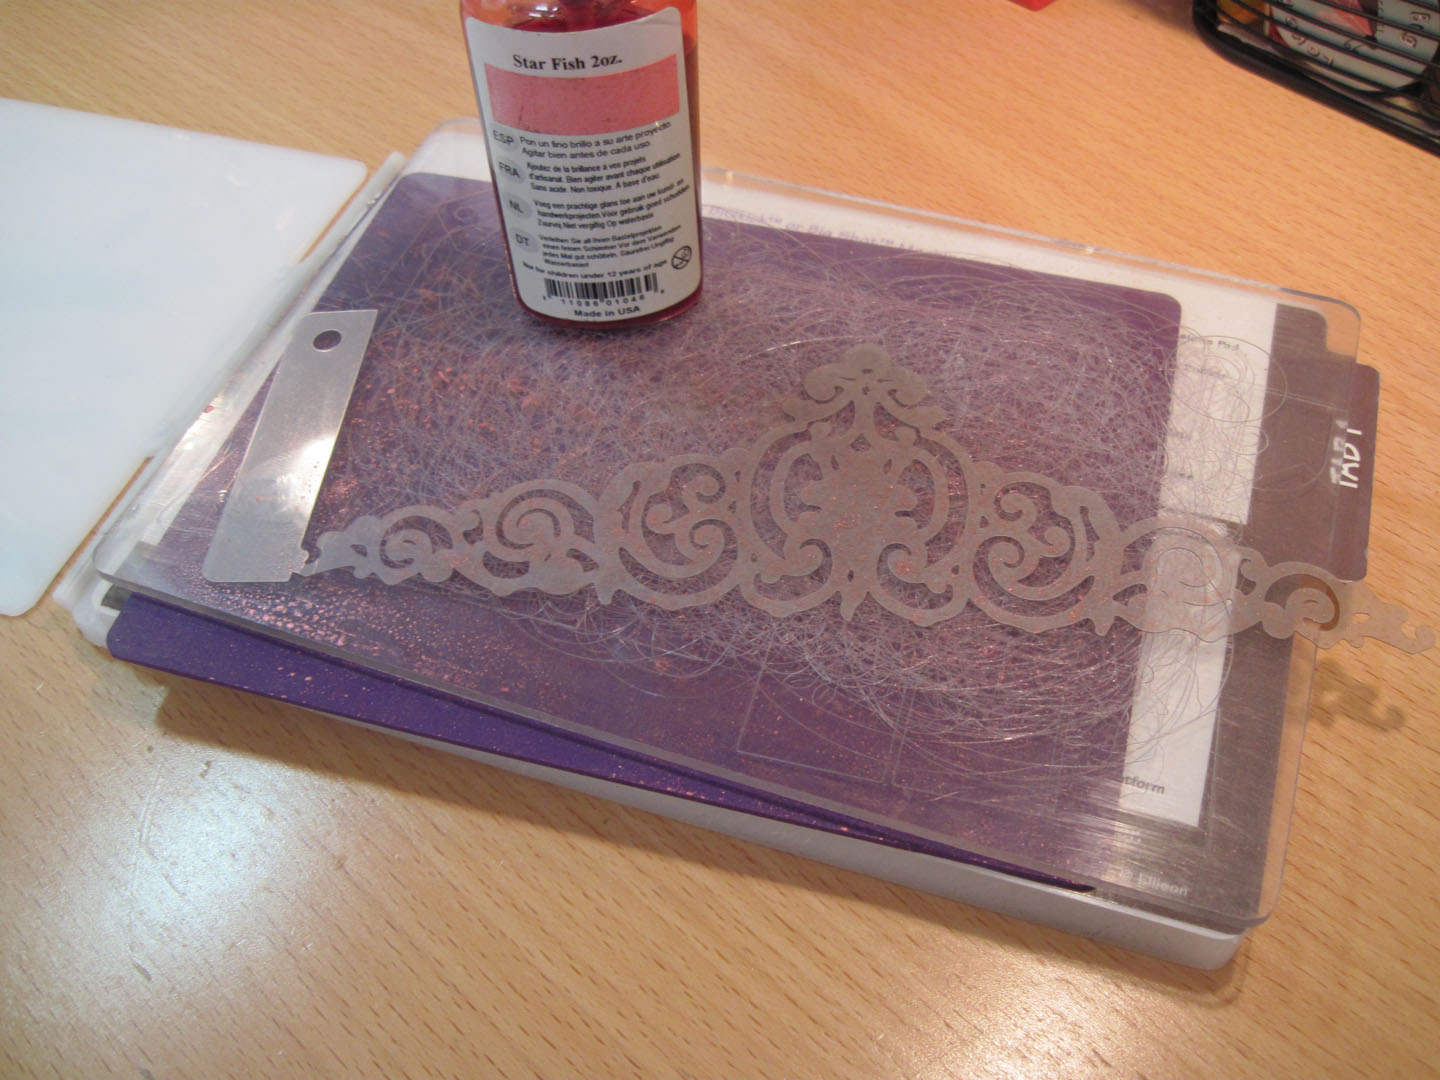
I then formed the sandwich for my Big Shot.  This step took a while....trying to figure out the right thickness to get a good embossing.  I ended up with the cutting platform tab 1, my mask, the paper, the rubber mat and then finally, the purple plate.  I didn't get quite as deep an emboss as I would have liked, but it worked.
 And, after a quick trip through my machine.....
I ended up with an embossed image with a hint of color.  I cut around the stencil to complete the look.

And here is my final project.
Prima Papers, flowers, butterflies, trims, Tattered Angels Glimmer Mist, Melissa Frances resins

Hugs.


Monday, May 2, 2011

Heat Embossing with Mists

Hi everyone!  I wanted to share with you a fun technique using your favorite mists.  I used Tattered Angels Glimmer Mist, but I am sure Shimmerz, Maya Mist, Mr. Huey...oh goodness, there are so many to choose from.  hee hee

For this technique you need to work fast, so have all your materials ready.  You will need your mist, a mask or stamp (for this I used a mask), your paper, embossing powder (I used clear UTEE) and a heat gun.

I began by covering my mask with mist.  You can do this in one of two ways.  Spray your mat with the mist and then add your mask, or mist directly onto your mask.  I chose the later.   With a stamp, you would definitely want to go with stamping into the mist.
Quickly place the mask ink side down onto your paper.
Remember I mentioned the working fast?  You will want to get the embossing powder on there as quickly as possible as the mist will be drying and absorbing into your paper.
Once the embossing powder is on the image, you can heat.  I love the cool watery texture you get with this technique.
I cut the image from my card stock and inked it up fairly well before adding it to my layout.  The embossed image makes a great resist.
I hope you have fun with your mists.


Thursday, September 2, 2010

Utee & Puff Paint

If you are anything like me, you have dabbled in a number of different crafts, using different mediums. I used to do a bit of craft work with puff paints. So, I have lots of different colors of puff paint lying around the house. How excited was I to find a fun way to use these paints and create a fun texture on my chipboard at the same time!

Here is what you will need....
Chipboard, UTEE, puff paint, and a heat gun.

First you will want to paint your chipboard using the puff paint. I find that using the tip of the paint nozzle to spread my paint clogs the nozzle. So, I use a paint brush.
After covering all of the chipboard with the paint, I cover the paint in the UTEE. I just dump a bunch on. Make sure and do this while your paint is still wet. The wet paint is what adheres the UTEE to your project.

Once the paint is dry, I can remove my chipboard from the UTEE, turn it upside down and flick it a few times to remove any excess. I then dump the UTEE back into the jar. You will be left with fuzzy looking chipboard.
A quick blast with the heat gun, being careful not to stay in any one place too long causing the paint underneath to bubble, and you will have shiny, water droplet chipboard.
Wait just a bit for the chipboard to cool and adhere to your project.

Here is another example in a different color.

Have fun experimenting with the supplies in your craft closet.