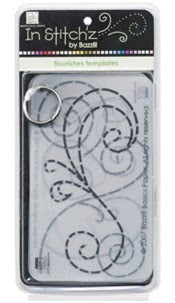
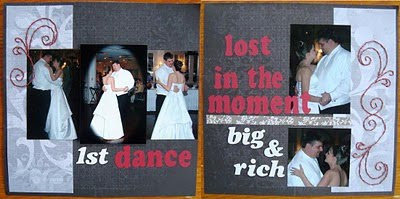
I really loved the look of the flourishes and made this wedding layout:
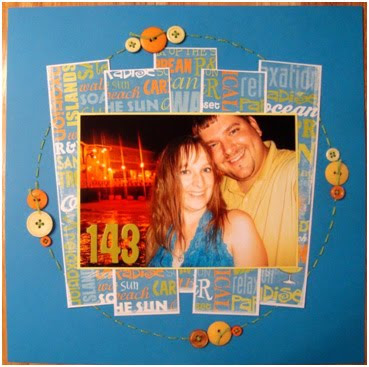
I was hooked! Inspired by a sketch I found, I needed a circle background stitched. I tried one of my circle cutter’s templates to create it, but it wasn’t quite big enough for what I wanted. After playing around in Microsoft Word, I figured out how to make my own and here’s how it turned out:
Using, the 2007 edition of Microsoft Word, this is what I did:
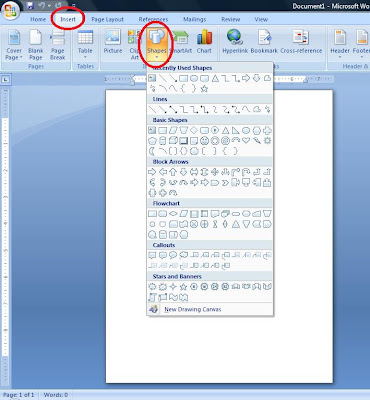
Open a new document, select Insert > Shapes. Look at the possibilities! For this next layout, I am using the arrow.
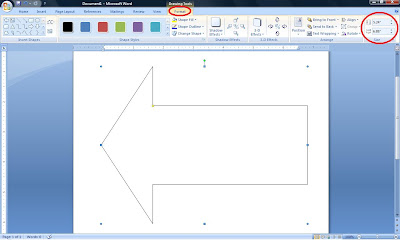
After selecting the arrow, you can change the size by clicking Format and on the far right, entering your width and height. This allows you to customize your template to fit your specific layout.
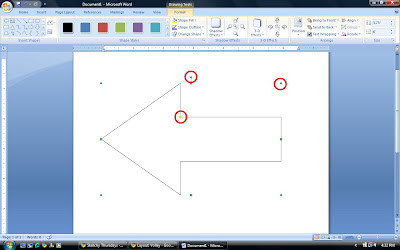
I needed my arrow to be 6” long. You can then change the look of your shape using the colored dots. The green dial allows you to rotate your shape, the blue dot allows you to adjust the size of your shape manually, and the yellow dot changes the feature of the shape, but not the size (it will make the triangle portion of the arrow narrower, for example). Once you have the desired effect, we are going to change the outline.
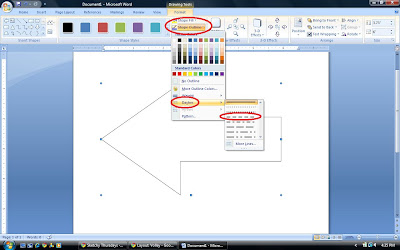
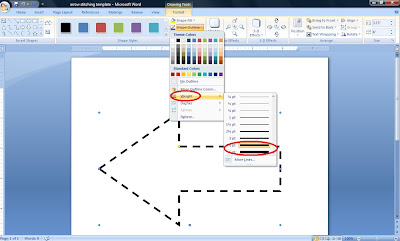
You will also change need to change the spacing between the dashes. Select Format > Shape Outline > Weight > and either 4 ½ or 6

Print out your template, trim and position on your layout.
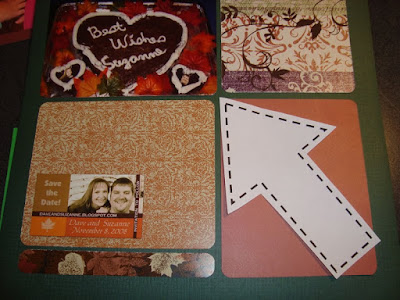
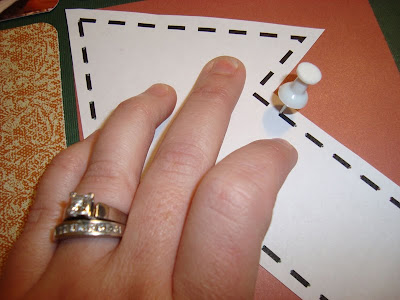
I place a piece of craft foam under my layout and use a pushpin to pierce the holes.
Then, stitch with a needle and coordinating embroidery floss.
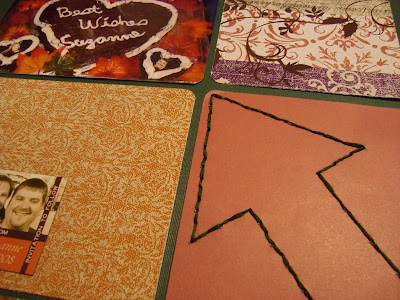
Here is the finished layout (from my school wedding shower).

Use your imagination to put shapes together to make more involved templates, like this Christmas tree.
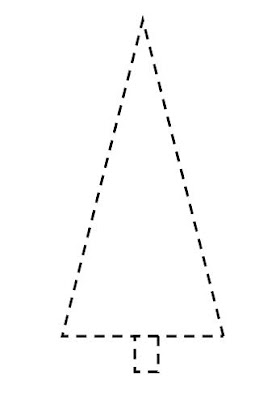
Happy Holidays! ~Suzanne


What a great idea! Thanks for the great tutorial!
ReplyDeleteAwesome. Thanks. I don't know how to use a sewing machine either...and this has given me motivation to try stitching.
ReplyDeletethis is a great idea! I've never tried stitches on paper before, but I might now!!! thanks for sharing. :)
ReplyDeleteHa! I just requested stitching templates for xmas... should have read this tutorial first! Great idea!!! Thanks for sharing!
ReplyDeleteSo going to try this one!!!
ReplyDeleteSuch a cool tutorial! Thank you very much for sharing!!! Your layouts are lovely!
ReplyDeleteThank you! Your blog post will be advertised on the DigiFree Tutorials search engine today (look for timestamp: 20 Dec [LA 04:00pm, NY 07:00pm] - 21 Dec [UK 12:00am, OZ 11:00am] ).
ReplyDelete