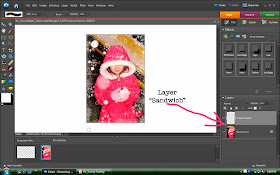
The best way I ever heard to describe using layers in the layers palette was to think of it as building a sandwich. One layer is the bread, then mayo, then meat, then lettuce, and cheese. To rearrange the layers you can drag them by clicking on them with your mouse and pulling up or down in the layers palette. See the little slider setting that says opacity? If the overlay looks a bit too bright and strong on your photo, you can drag the slider to make it more transparent, and tone down the effect a bit.
Of course I wouldn't tell you all of this without providing some overlays to play with! Here is my photo before adding the overlays I made...

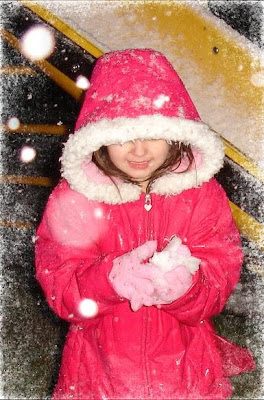
This is how it looks after I applied the first overlay...
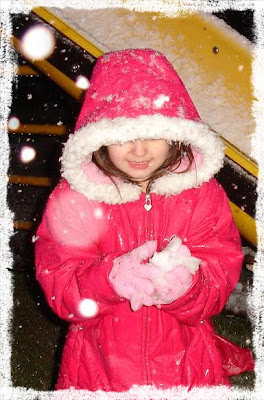
Here is the second overlay...
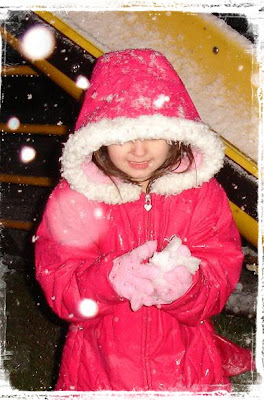
And the third...

And one more!
After you apply your overlay and get it sized how you want, go to Layer-Flatten Image, and then save the image with a different file name so you don't write over the original file in case you want it later.
To download the zipped file with all 4 overlays click here... http://www.4shared.com/file/202203940/594c69d1/HL_Snowy_Overlay.html


thanks so much for that heather! :) great info! :)
ReplyDeletehugs,
sarah.
Thank you so much for this Freebie. I want to let you know that I posted a link to your blog in CBH Digital Scrapbooking Freebies, under the Page 4 post on Jan. 31, 2010. Thanks again.
ReplyDeleteThis will be very useful. Thanks for sharing.
ReplyDelete